Week 5 -Learning After Effects Basics

During the lessons, we talked about the principles of animation once again – mainly focusing on the easing and keyframes. We then tried out some simple after effects techniques such as moving and morphing shapes using keys.

To establish characters, we also looked into shape languages from Disney to further communicate personality to the audience. But personally I believe that a good mixture of these shapes would accentuate personality further.


After Effects Tests:

These are the first few test that I made in the first 2 lessons. It was interesting how just altering the movements and the speed of the ball could define the weight so easily to us. This was also simple enough to achieve for a person who has never used After effects.

Exercise: Drawing an emotion with 3 shapes
I picked sluggish and laziness – which made me picture droopy liquid that is difficult to pick up.

Experimenting with the sketched out shape:

Since I was still practicing, I just tried to get the shapes and layers as accurate to my sketch rather than figuring out a movement. But just changing the path of the shapes to make it droopy conveys the emotion quite well with just 2 keyframes.


Drawing a cherry as practice:

I was quite proud of this cherry I made, so despite it just being a side practice for the class to just delete later, I decided to keep this for the brief we’ll get from this rotation. I really liked my improvised colour scheme and the way I drew my cherry.

I’ll update on the brief in the next post:
Week 1 – Stop Motion Test – 25/09/23

GROUP PRACTICE ANIMATION:

1st week stop motion test with my group

We were introduced to the idea of 3D forms and team work in morphing our shapes into each other. My transition was from square to triangle.

In terms of teamwork, there was constant communication and ideas thrown around for all of our shapes. There were some mishaps on who is doing which transition but this was easily handled. During our shooting process, we each took turns taking pictures for our peers so that it’s a faster process with less changes in lighting shifting into different position. It also help decrease tripping hazards from going back and forth.

Brief page in my sketchbook for the rotation:
I like rewriting briefs in summary so that I can stay on track

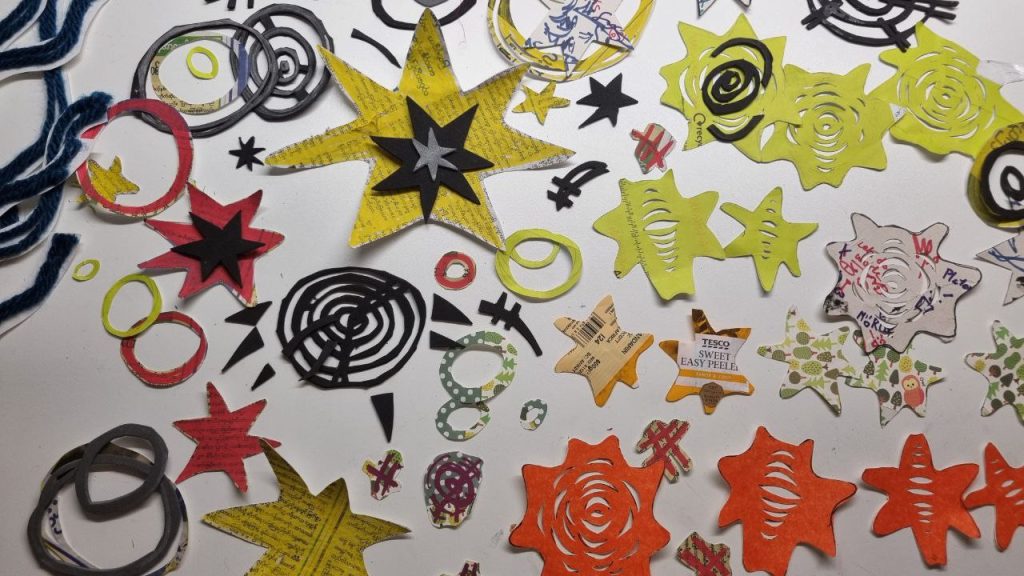
CUT OUTS

The main structure of the cut-out I made redrawn (since I didn’t take pictures of the cutting process)

RESPONSE TO THE ANIMATION:

Due to the fact that I didn’t managed to take photos of the cut outs (they were mostly improvised after a brief discussion with the group), I’ve redrawn this diagram of the shapes I’ve cut out. To include both displacement and replacement techniques within my work, I rotated and prolonged certain shapes for a certain amount of frames. This is so that it not only matches the momentum of the last classmate’s animation, but also limits the amount of frames I need to cut and replace in the exact position.

To improve, I could’ve maintained the momentum and arc of the projectile further, and use the space on the left to follow the motion through. I could’ve also experimented with the placement and depth of focus, rather than sticking to one horizontal axis that the paper is travelling in. Nonetheless, I think the rip in the diamond to a triangle somehow gave some reality and texture of the material and was a somewhat smooth animation. The way that it rips created a 3 dimensional around itself.

In my next stop motion project, I’ll attempt to use the space around the shapes more, and create something ambitious with different materials and shapes as similarly to Selina Trepp’s “Working the flow” (depending on the time restraints) – where she adds many creature-like elements and simultaneously move them to create a lively atmosphere using displacement animation.